Showing posts with label Christmas. Show all posts

Saturday, November 24, 2012

Ornament Swap!


This year I decided to join 

Tutu's and Tea Parties Ornament Swap

Lauren does an excellent job matching up crafters across the country and even internationally.   
We get to meet someone new and give them a little Christmas cheer.  
We then get to show off our creations in the Ornament Link Up!
Click on the link to check it out.


TutusandTeaParties


Below are the pictures of the kutsudama origami ball I made for my match partner, 
Bethany at Pitter and Glink.  
Bethany gave me her Christmas decor colors of navy blue, gold and white 
and I got to work.

Friday, December 30, 2011

Merry Christmas and a Happy New Year!

I feel like I am about a week behind on the Christmas festivities.  I guess technically I am.
I still want to make some bark, finalize some gifts and feel jolly. 
I plan on doing all this weekend.
Woot!

I wanted to share our 2011 Christmas Card and
wish you and your families a
Happy, Healthy and Prosperous New Year.

Hug your loved ones tight and tell them how much they mean to you.


Photobucket

P.S. Thanks to my dear friend Evelyn (The Littlest Things blog)for taking these beautiful pictures for us. 
Hey, that main pics looks familiar...  :)

Saturday, December 24, 2011

Origami Flower Ornament


Isn't it pretty????
I had such a great time making this ornament. 
There is something very soothing about folding paper this way,
I don't know why, but it really was nice and calming. 

I had originally found my inspiration picture on Pinterest months ago
and knew I wanted to try this out.  
As I was doing more research on the picture, I found out this ornament is
kusudama origami.   I found lots of how-to videos on You Tube, and wanted to put together a
tutorial on how I made my
 Kusudama Origami Flower Ornament.


Here are the cast of characters:

Paper - I used my $.50 Goodwill Book (this makes crafts number 4 & 5 from this baby)
Hot Glue and Gun or Regular Glue
Scissors
Fishing Line or Ribbon


Saturday, December 17, 2011

Christmas Decor House Tour 2011

I cannot believe that Christmas is only one week away. 

Per my prior post, things have been turned upside down in the Montano household.   I am glad I was able to complete most of my holiday to do list early.   Don't get me wrong, nothing is more important than the health of my family, but I also want to keep things somewhat "normal" and special for my little man.   Also, as soon as the big man is back in action, we can all share in the festivities and get back to our daily lives.  {And, honestly I can't sleep and need to keep myself busy.}

With that being said and in the spirit of trying to get jolly for my guys,
I wanted to share my holiday decorations this year.


Foyer


The beautiful printable from this talented blogger.  I love it so much!
The book is Scarlett, if you were wondering. 


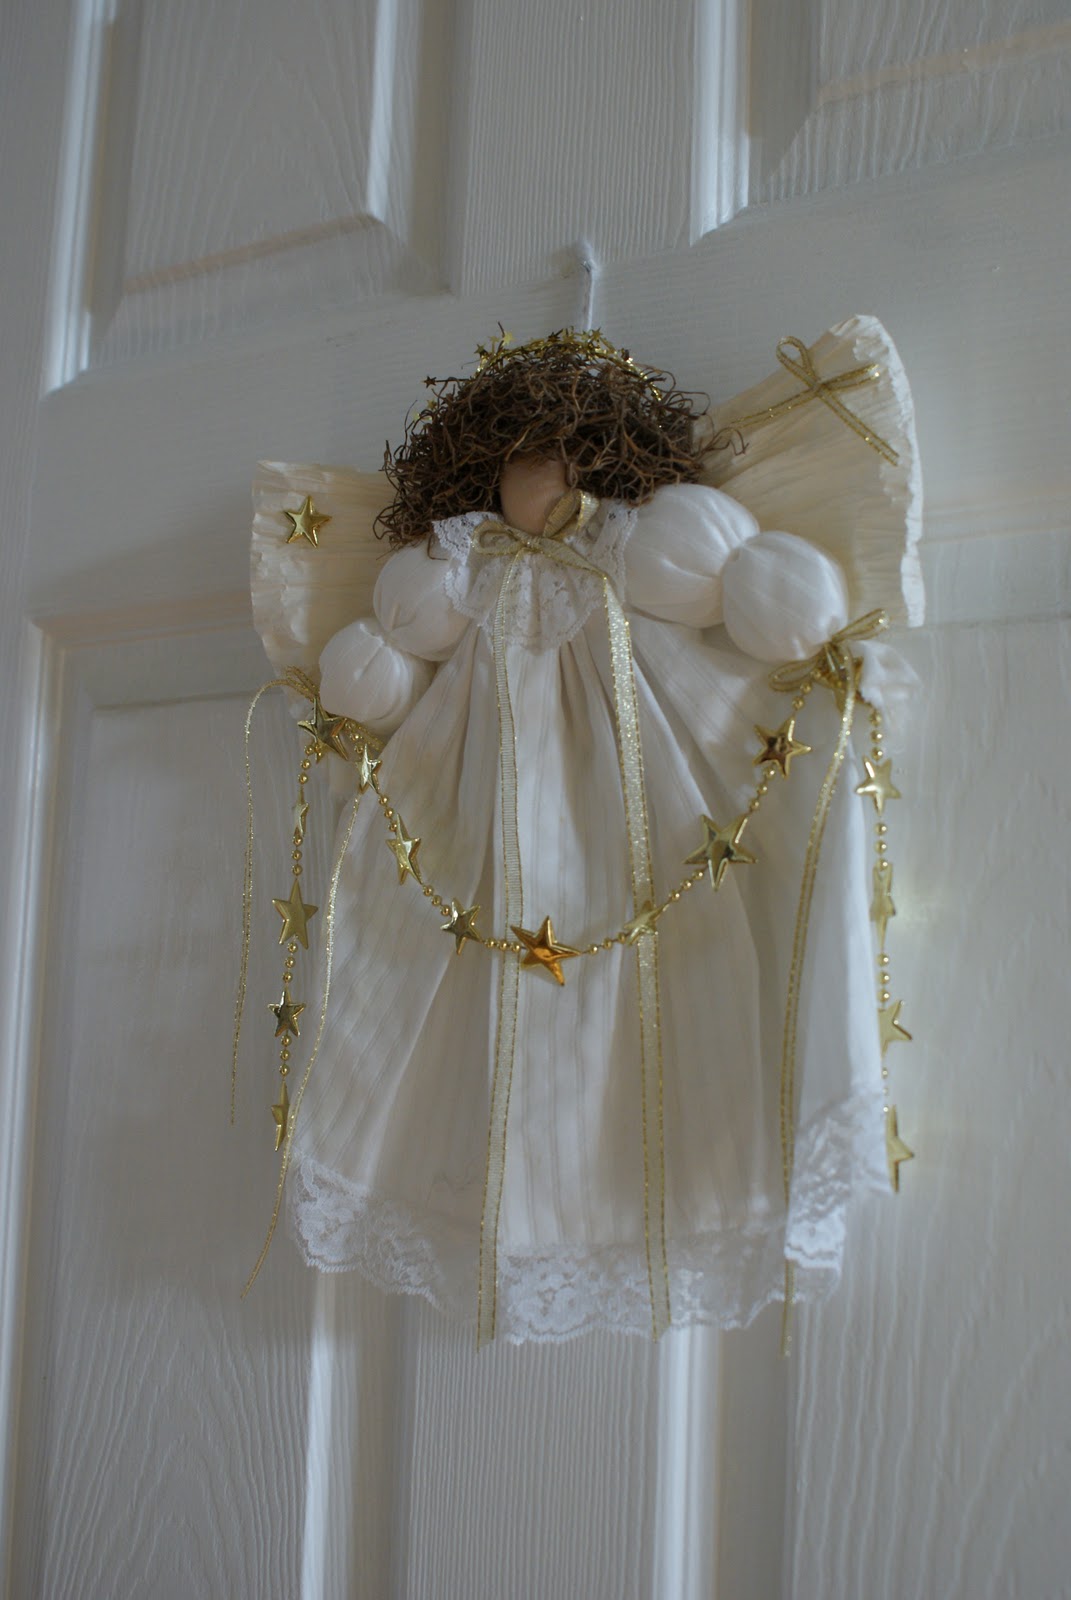
Country angel a good friend gave me many years ago.  It hangs in the hallway between
the foyer and kitchen.


Living Room


Dining Room


Family Room


It's hard to decorate the mantel with all of the equipment above.
Hint:  We prop up the cable box with a big book
so it clears the garland and we can still have a working remote control.


Beautiful Nativity Scene my aunt gave me.


A few of my favorite ornaments, Bumble!!!
Did you know that Bumbles bounce?


Stained Glass Angel and Irredescent - made by me!


Little Man's Room

He says the lights make him feel like he's in a spaceship.
I think they are pretty cool.
Santa's elves brought him his own tree for being a good boy a few weeks ago.
Santa even sent Star Wars ornaments and a note!!
We are making ornaments for his tree together.  I want to make it a tradition and save them as keepsakes.


Outside

Nothing overly fancy.


Merry Christmas!


Photobucket

Sunday, December 11, 2011

First Annual Cookie Swap & Ugly Christmas Sweater Party

I've wanted to host one of these parties for a long time.

I love to bake!
I love making cookies, especially.

I try to make themed sugar cookies every year for Michael's Birthday.  I also make a ton during the holidays and have my set few "go to" winners. 

Knowing I need to expand my repertoire, I invited friends and family over to share their special treats. 
All I asked that they wear a "festive" Christmas sweater or shirt.

We served appetizers and light food and drinks.  Then it was on to the cookie!
Everyone made 4 dozen cookies to taste and share. 

Here are the pre-party pics of the cookies I made.
The table centerpiece surrounded by snowman sugar cookies.


Aren't they sweet?


More sugar cookie, these with glitter gel and edible pearls. Yum!


M and M, Rollo and Pretzel bites.


Lastly, I made Oatmeal Scotchies.


Here is the table decked out with all of the cookies.


Starting at the middle left we have my friend Jeannine's amazing pizzelle's with a touch of Jack.
Next up is Sarah and her scrumptious Red Velvet Truffles covered in White Chocolate. 
She also made very tasty peppermint cookies, which I really liked.
Monica made delicious Peanut Butter and Jelly cookies.


On the other side of the table;
Annette made a beautiful mix of tastiness; chocolate gingerbread men, jam cut outs, and white chocolate cherry cookies.


Carmen made jam thumbprint cookie that were adorable and yummy!
Even 5 year old Gabrielle made a batch of Christmas tree cookies for everyone.  She did great!


Evelyn made these colorful and wonderfully cute and delicious pinwheels.  I love the colors. 


And we finish at the other end of the table with Jeannine again and her  decadent tiramisu balls (they were in the fridge) and her coconut blackberry and apricot thumbprints.


As you can imagine, the kids were sufficiently sugared up on cookie.  I figured M&Ms (minus the red and green I used) 
 would be just the icing on the cake for them.
:::::insert evil laugh::::
My cousin advised she would be calling me at 3 am, when her 5 year old is wide still awake, to thank me.


And here we all are, decked out in our finery. 
Neil won the best shirt award for his sweater and tie tee shirt!

Also you can just see my banner on the wall, you can find the tutorial here


It was a great party and we will definitely be doing it again! 
In the words of Michael, "YAY!!!  COOOOOKIES!!!!!!!"

Photobucket


Made in a Day

Christmas Music Banner Tutorial

It has been a crazy week; we all had colds (Jaime still does), deliverables for work, Christmas decorating, Christmas baking and getting the house clean and ready for my first Cookie Swap Party.  It's weeks like this you wish for more time, more energy, or a horde of minions to direct as you kick back and a drink.  :)

I knew I wanted to add a Christmas banner to my decor this year and after seeing so many pretty ones on blogs and Pinterest (evil, evil, evil) 

I made this little pretty for my dining room which is severely lacking any decor at all, let alone Christmas-y stuff.   It was super easy to make and I was thrilled with the results!


All you need is:

 4 sheets of red card stock or construction paper (I used card stock I had on hand)
 4 sheets of 2 per page printed music paper
1 sheet of full page printed music paper You can print it free here or here
Glue Gun and Glue Sticks
Ribbon ( I used thin metallic wired ribbon)
Hole Punches - Regular and 2 inch circle
Scissors or Paper cutter


After you print the one full sized sheet of music paper, load it back into your printer so that is will pull in music side to the print side.   It took me a minute to figure this out for my printer
I chose Silent Night and Away in the Manger as my music paper. Gotta keep with the theme peeps.

Find your coolest frizzly (official term) font and type out your message and print. 
I used Algerian font in 100 pt and all caps.

Take your full sheet of red paper and cut it into 4 even strips lengthwise.


2 strips will make 1 rosette.

Fold your 2 strips according style, make sure to keep the folds even
and approximately 1/2 inch wide.


Hot glue the ends of the 2 according strips together to make one long strip.


Then take that long strip and hot glue the 2 remaining ends together. 
It will form a circle.


Pick up the circle and gently press down the top while pulling out the bottom. 
It's kind of like inverting a sock...
And voila!  a rosette!


This way is so much easier than the way of I used to make these, folding the long piece of paper.
Repeat these steps, one for each letter in your saying.

Using the 2 inch hole punch, punch out your saying. 
Then hot glue one letter to the middle of each rosette.


Next, cut your double printed music sheets to size, approximately 5 inches wide and 8 1/2 inches long.
Draw a triangle shape on the bottom of the page and cut it out.
I used a folded sheet of paper to create my triangle, since I can't be trusted to draw a straight line. :)


Center your rosette on the sheet and hot glue in place.


Once dry, use your regular hole punch to punch 2 holes per sheet of paper. 
You can put clear tape on the spot before punching the hole to stop tearing.  I just ran out to I skipped this part.
You can also see the little tear on the E. I had an issue with my puncher,
but it's hardly noticeable when up.


Next, take the ribbon and cut it to twice the length of your banner. 
Then thread the ribbon through each section.


I attached the banner to the wall using command strips and hooks. 
I covered up the hooks with sparkle snowflakes I had. 
( love them)


Here is a close up.


And the finished product!


I certainly am, as this project came in at $0 to make.  Happy Dance!

Be Merry!


Photobucket