

I had such a fun time making the origami flower in THIS post,
I wanted to try origami again.
After a bit of internet research, I came across this SITE with both
written and video tutorial on the beauty above.
They suggested making the heart from money to gift.
Now, that is what I call a good gift. :)
I was totally inspired and off I went to find some paper.
I ended up choosing 3 different colors,
as I wanted to make 3 different size hearts.
The cast of characters:

Paper
Paper Cutter or Scissors
Embellishments
Ribbon

I cut my paper as follows:
Pink - Same size as a money bill ($1 I'm a big spender)
Purple - Sheet of 8.5X11 cut on the short side
Red - Sheet of 8.5X11 cut on the long side
Here are the steps.
It seems like a lot, but one heart takes about 3 minutes total.


Take your paper and fold both ends in a 45 degree angle down
Flatten back down and repeat the 45 degree angles up.
In my pic, I flipped by sheet of paper and did a down fold again.
Same difference. :)
See the cool-criss cross you got going on?


Take one side of the folds and bring both ends to meet.
This will create a triangle to your right.
Press down on the triangle.
Repeat on the other side.


Once you have both ends completed, take the right side
and fold it over the left.
Fold over both corners on the right in 45 degree angles.


Take that same half and fold back over the 2 small,
45 degree angles.
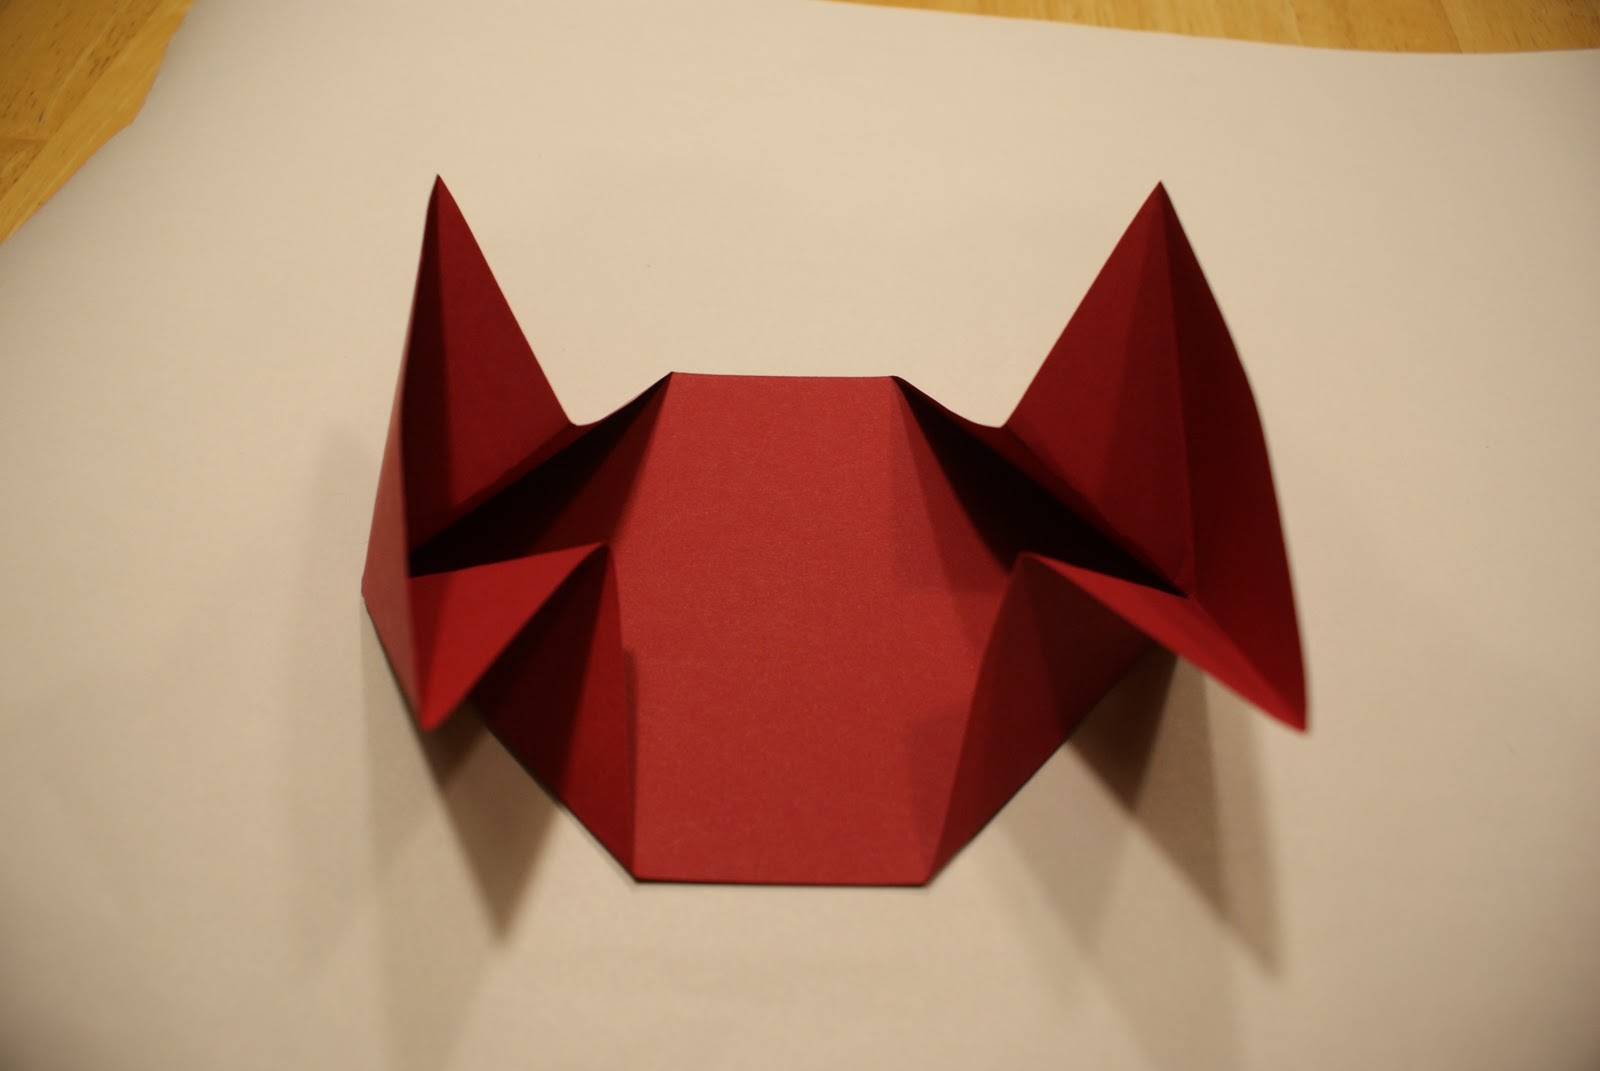
Now you will have a diamond shape, made up of 2 triangles.
Take each leg of the triangles and fold up so it meets the point
of the triangle.
Repeat for each of the 4 legs.


Open the middle and press the tip of the folded legs to middle of the diamond
Repeat for each leg.
This will leave you with for small diamonds
Take the sides of the diamonds and fold them in
toward the middle of the small diamond.
It will leave you with a kite shape.
Now take each of those folds, open the middle and press the tip
towards the middle of the diamond.
Repeat for each side of the diamond, 8 folds.


You are now finished with the front!
Turn the heart around and take the top piece of paper
and fold it down to the tip of the heart.
Fold over the tips of of the side of the heart to finish the look.


Here is the finished product, without and extras.
Then with a sparkly jewel set in the middle.
Since I was not using money for this origami,
I whipped out the glue gun and added the jewel.
I also glued down the side folds of the heart in the back.
I then added a ribbon for hanging.
Here are my completely finished hearts!


The bottom of the hearts are open so you can attach them to anything.
I added on to the frame above.
Gratuitous Plug: How cute is my 3 month old little man in that pic. I just want to eat him up
You could also add them to a card or use as a bookmark.
The ribboned hearts can be gift tags, or stand alone ornaments.
I really loved making these and think the bling gives them a little sumpin' sumpin'
Happy Valentines Day!
XOXO

Featured on!


Linking up to these great parties:
Monday - Craftomaniac * Kristens Junk Drawer * Sarahndipities * Skip to my Lou * Mad in Crafts * Keeping It Simple * Sumo's Sweet Stuff * C.R.A.F.T. * Making The World Cuter * Alderberry Hill * So Very Creative * Singing Three Little Birds *Ask Anna * Get Outta My Head Please * Three Mango Seeds * Lisa's Craft Blog * Polly Want a Crafter * DIY Home Sweet Home * Sew Can Do * Debbie-Debbiedoos * Cooking with Karyn * An Original Belle
Tuesday - Tip Junkie * Sugarbee Crafts * Funky Polkadot Giraffe * My Uncommon Slice of Suburbia * Crafty Confessions * Home Stories A to Z * Homework * Not Just a Housewife * Project Queen *A Diamond in the Stuff * Cherished Bliss * Blackberry Vine * Uncommon * The Southern Product Queen
Tuesday - Tip Junkie * Sugarbee Crafts * Funky Polkadot Giraffe * My Uncommon Slice of Suburbia * Crafty Confessions * Home Stories A to Z * Homework * Not Just a Housewife * Project Queen *A Diamond in the Stuff * Cherished Bliss * Blackberry Vine * Uncommon * The Southern Product Queen
Wednesday - Someday Crafts *Sew Much Ado * Tea Rose Home *A Little Tipsy * The Thrifty Home * Fireflies and Jellybeans * My Girlish Whims * Gingersnap Crafts * Raegun Wear * The CSI Project* The Stuff of Success * Lil' Luna * The Sasse Life
Friday - Thirty Handmade Days * Romantic Home *Tatertots and Jello* Simply Designing * Creation Corner * Blissful and Domestic * Young and Crafty * Delicate Construction * Happy Hour Projects * Sassy Sites * A Blonde's DIY Life * Whipperberry * Little Inspiration * Serenity Now * Here Comes The Sun * Tidy Mom * Raising Oranges * Happy Go Lucky * The Grant Life * Toys in the Dryer * Fingerprints on the Fridge * Bacon Time


